 OriginalRemoved
Remove backgrounds on your device. Export a transparent PNG or try a new backdrop.
 BEFOREAFTER
Or choose one from your device.
PNG, JPG or WebP · Up to 10 MB
Your photo is processed on your device.
First time here? The first edit downloads the model and can take longer. Try a prepared sample to explore the editor.
PNG or JPG exportBEFORE AND AFTER
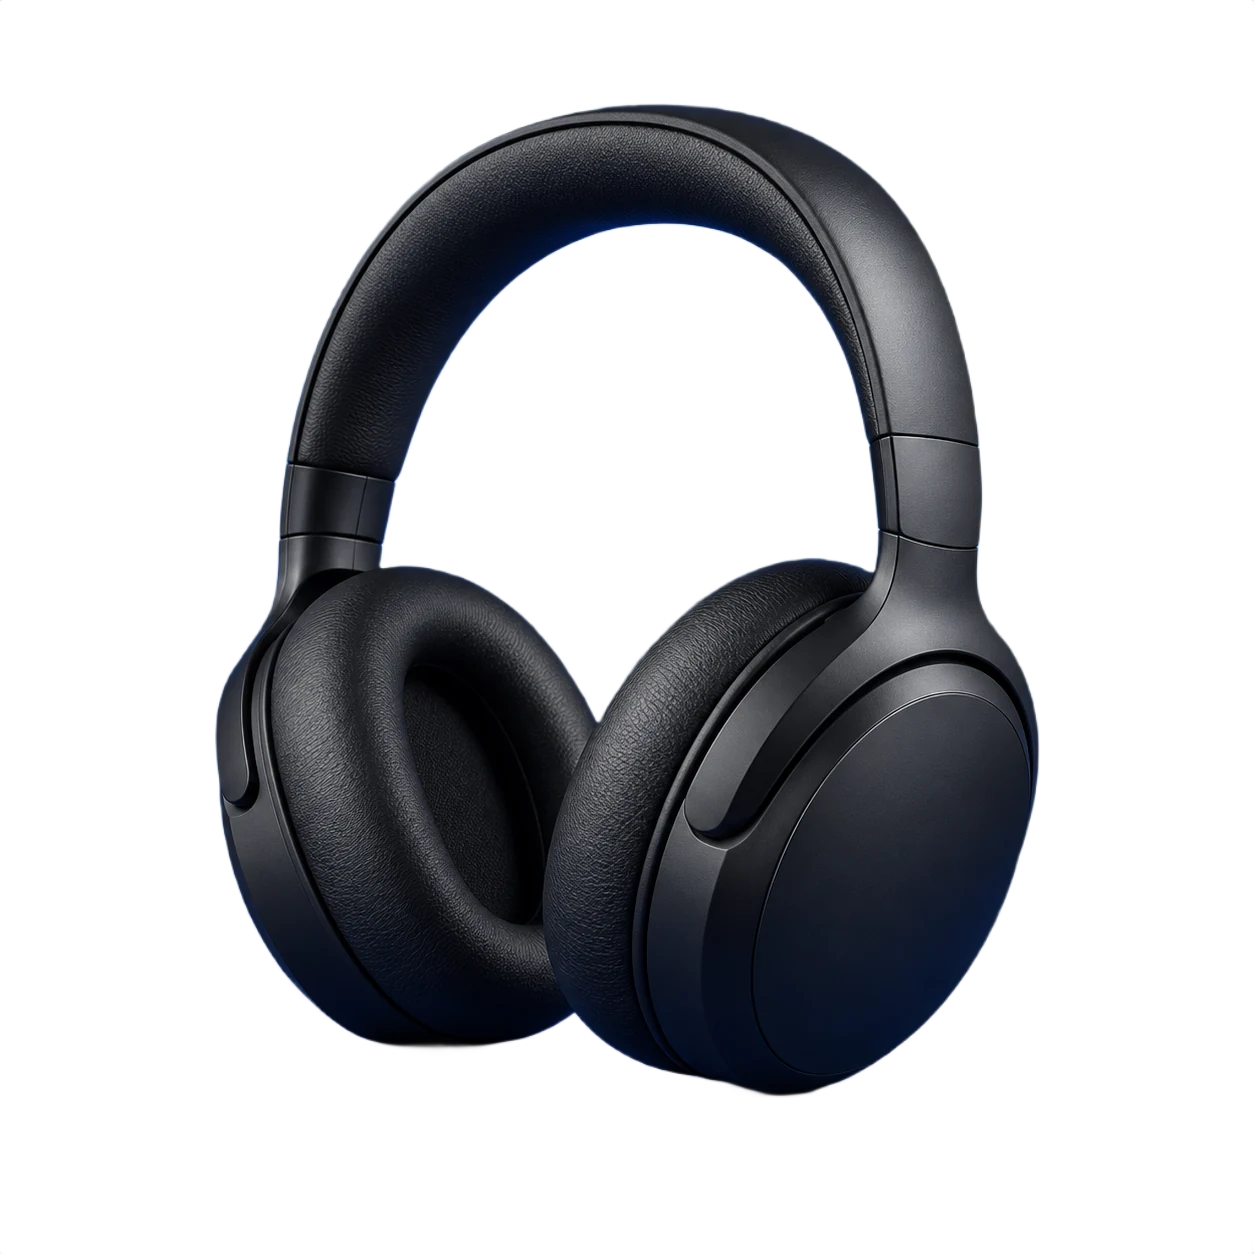
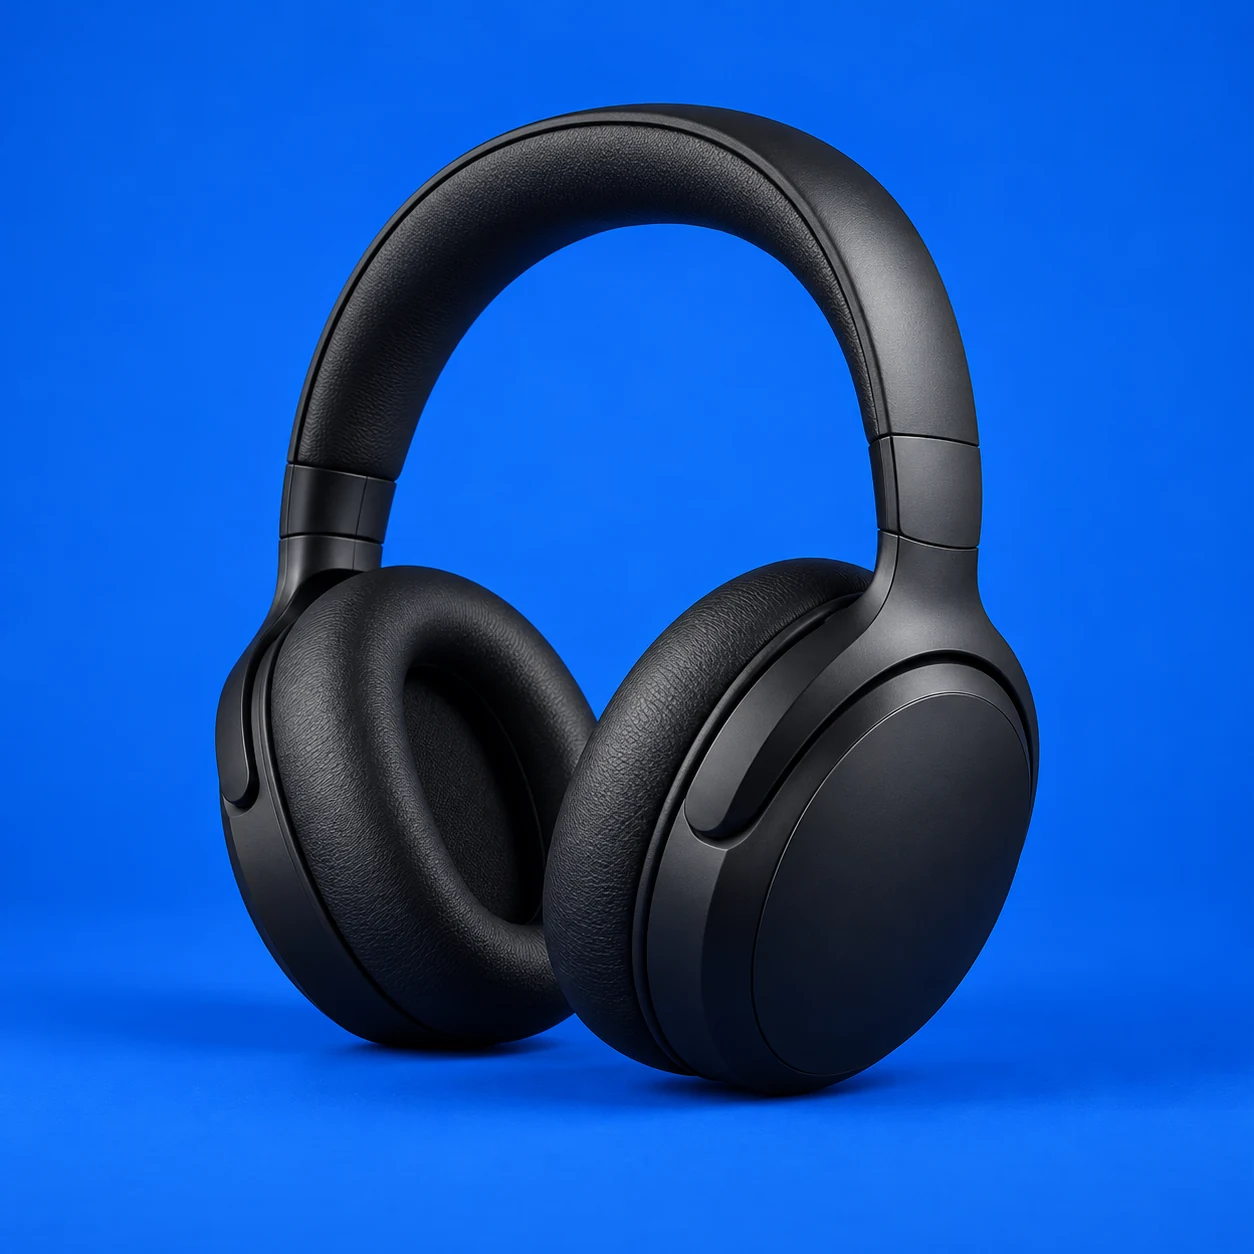
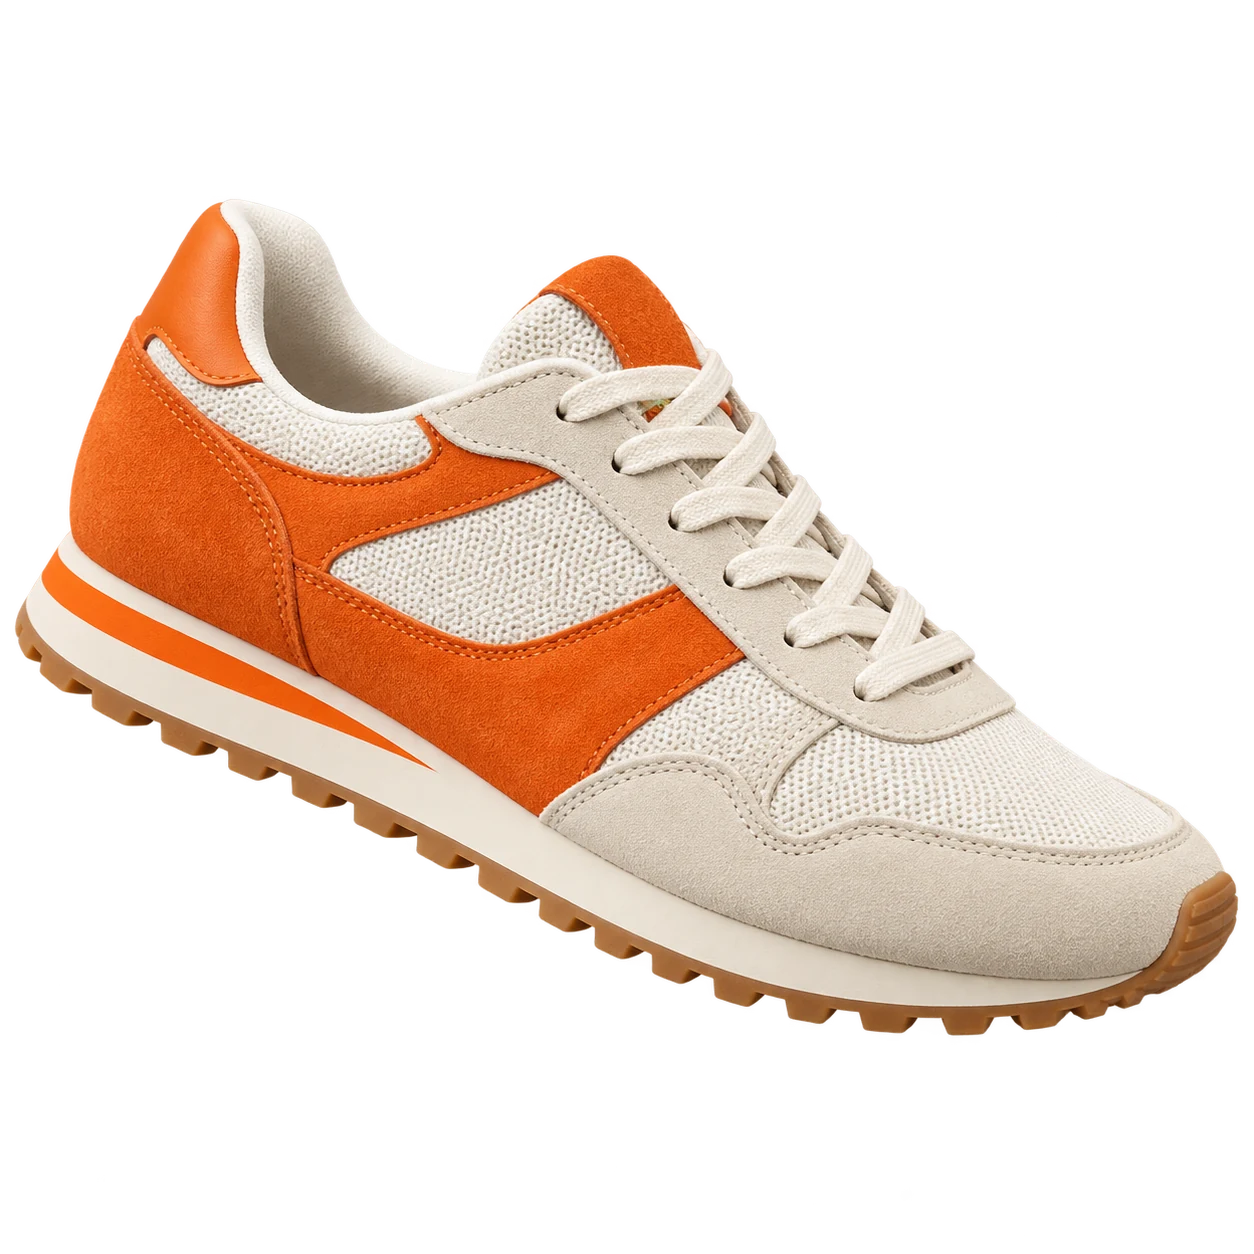
Drag the handle to compare, or browse more examples. These are prepared cutouts; your own photo is processed on your device.
OriginalRemoved
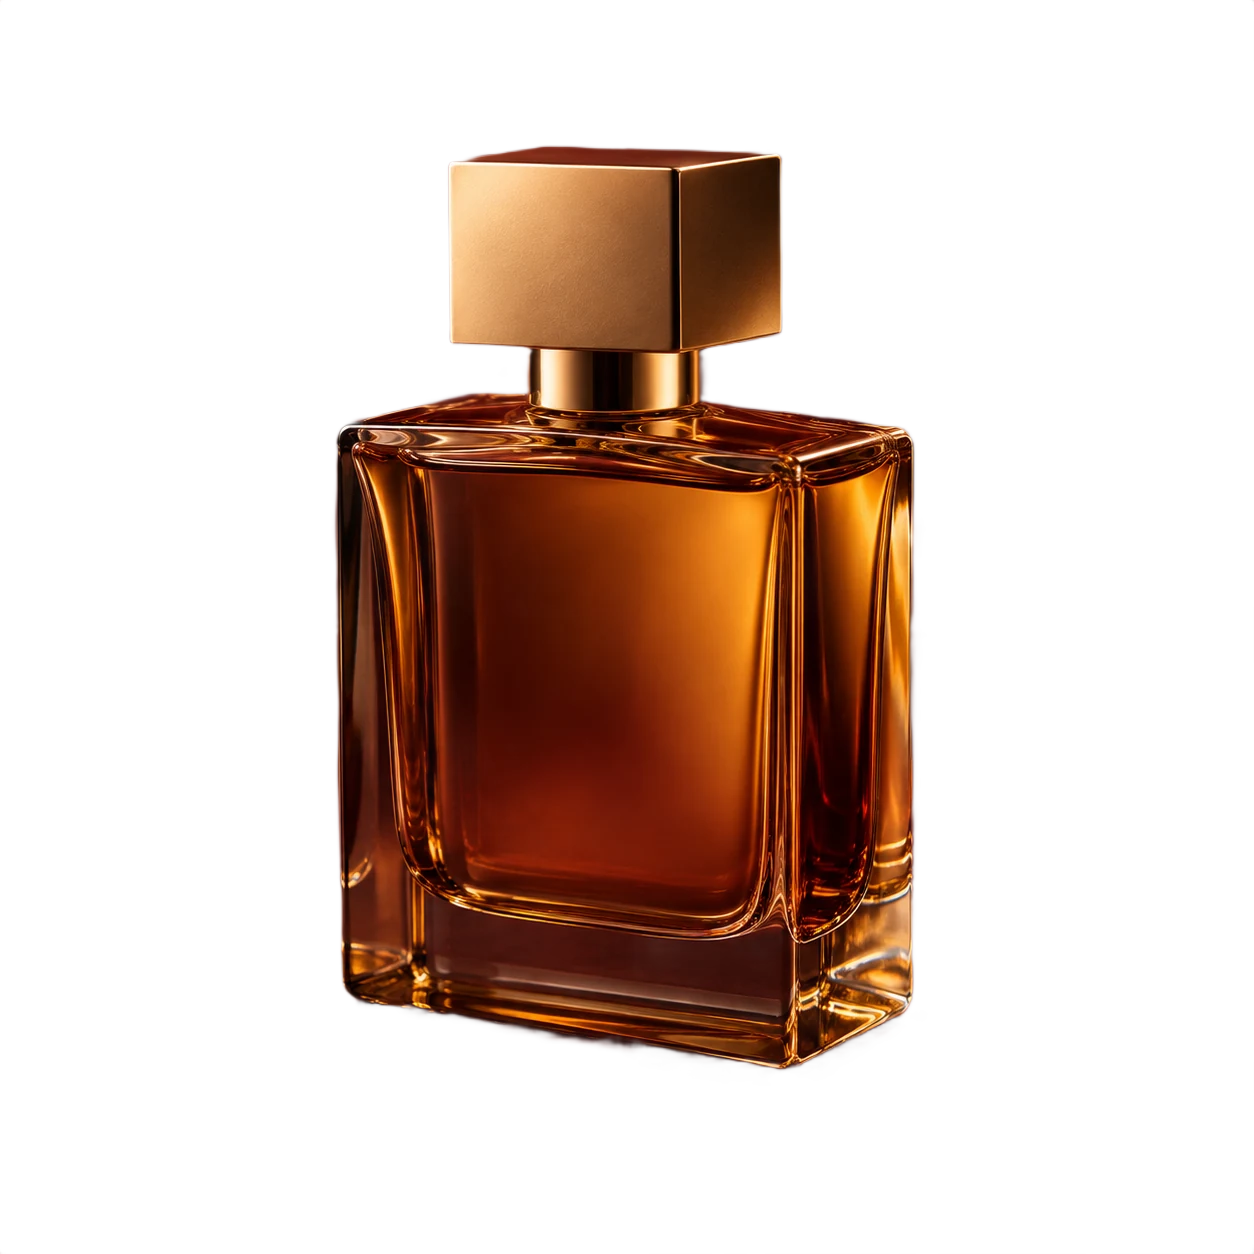
 OriginalRemoved
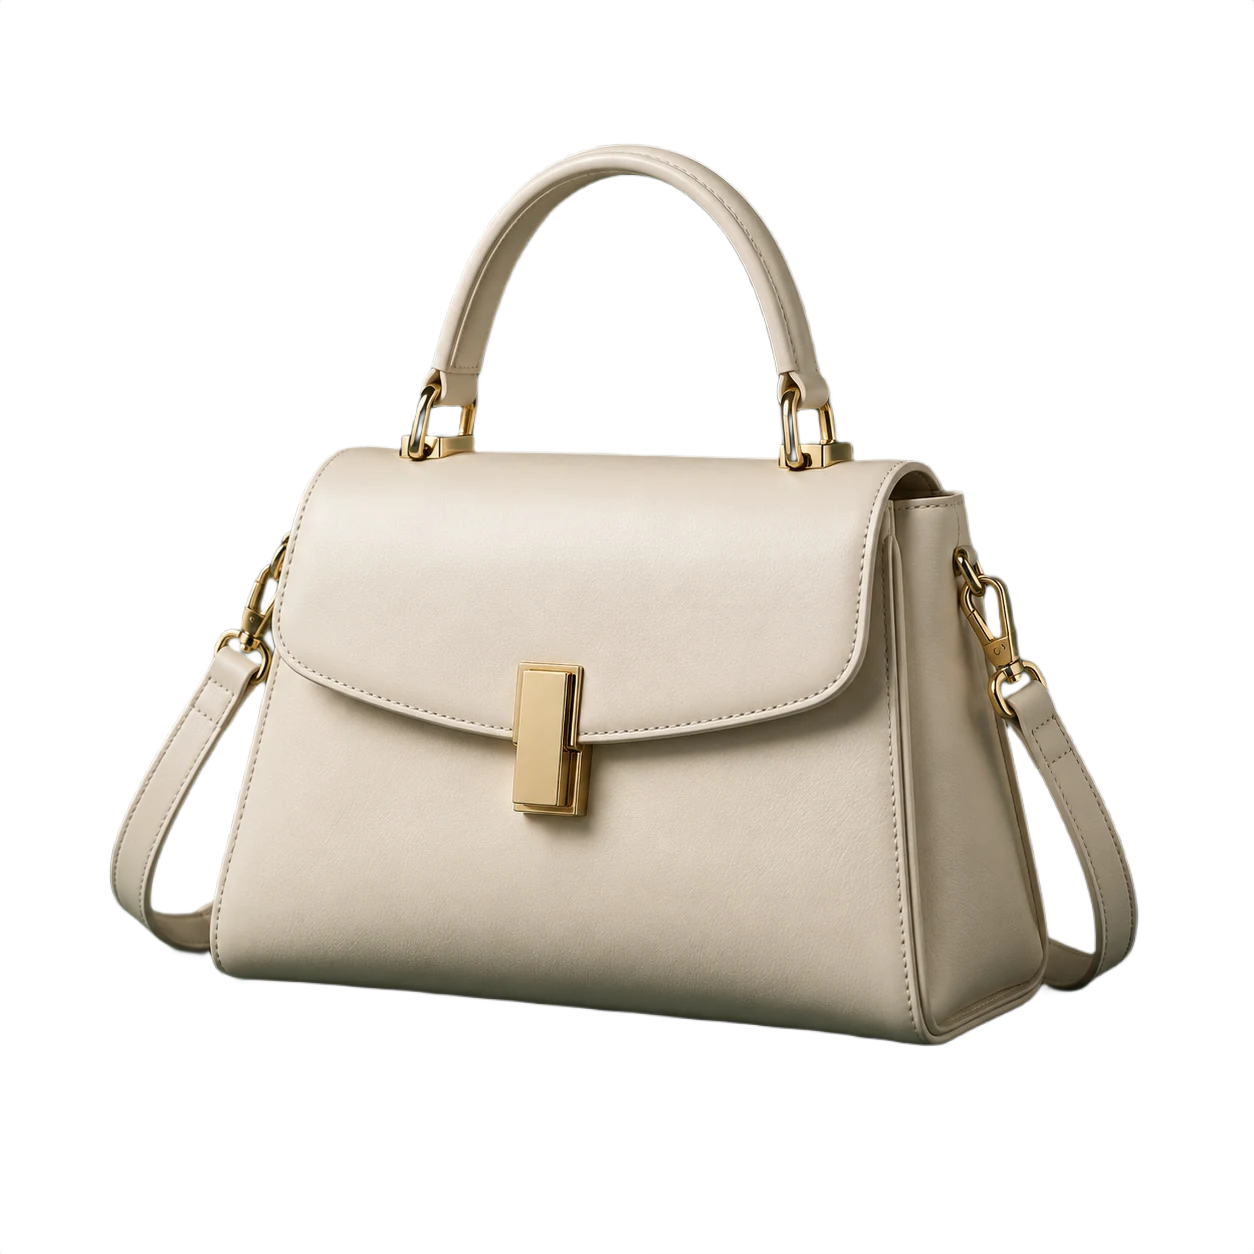
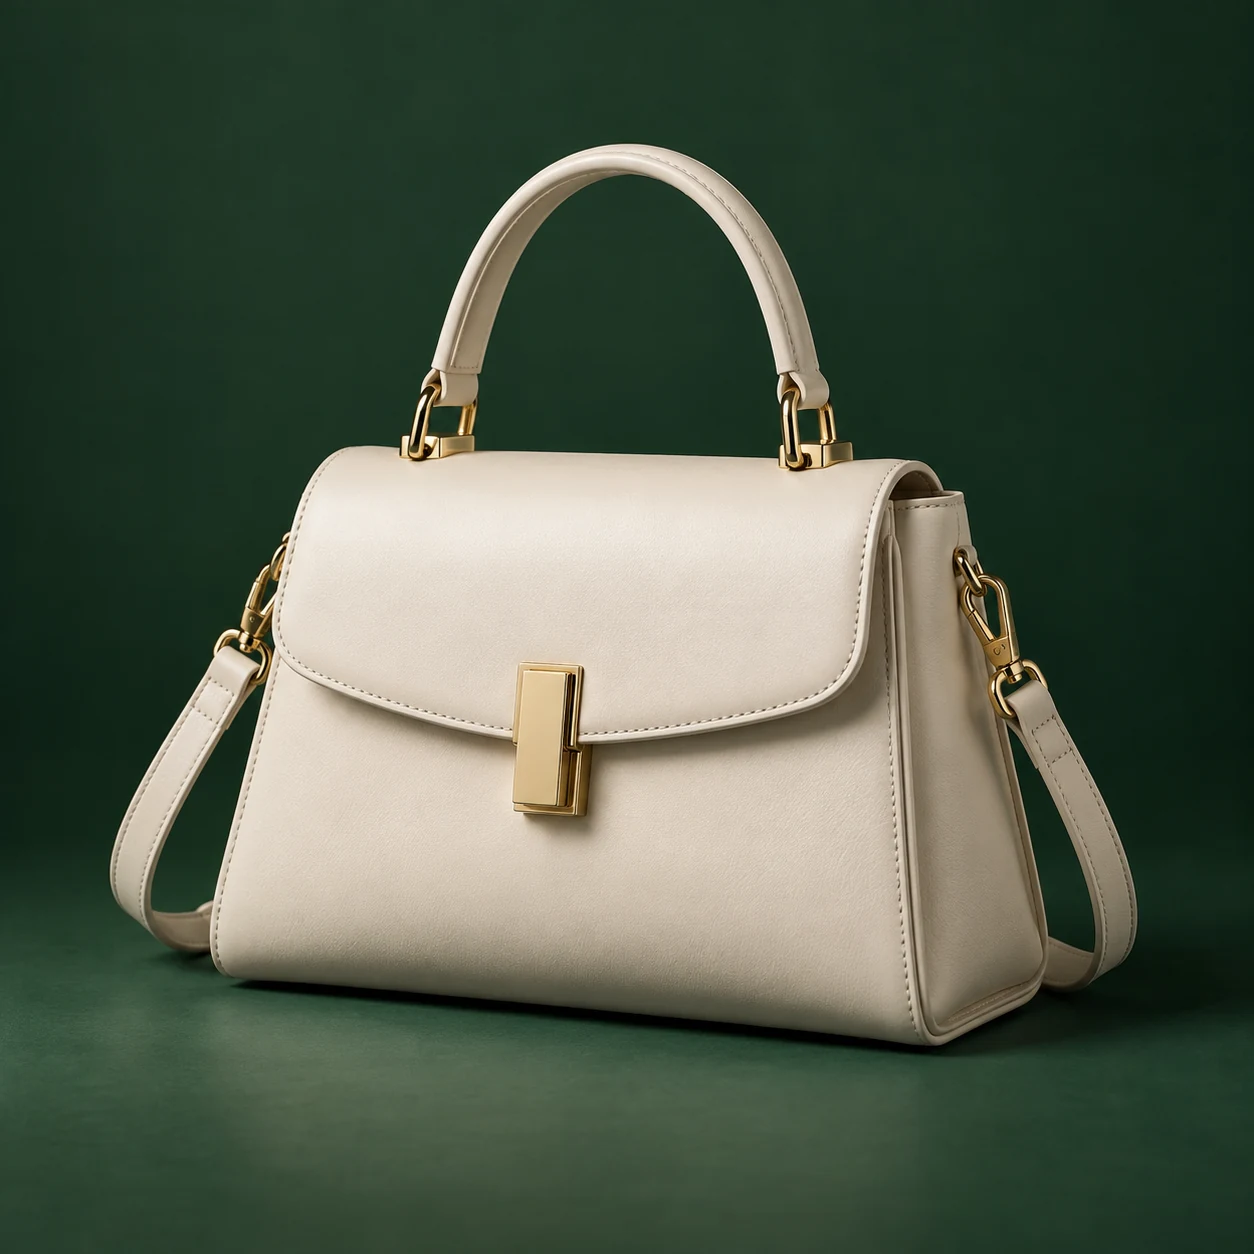 OriginalRemoved
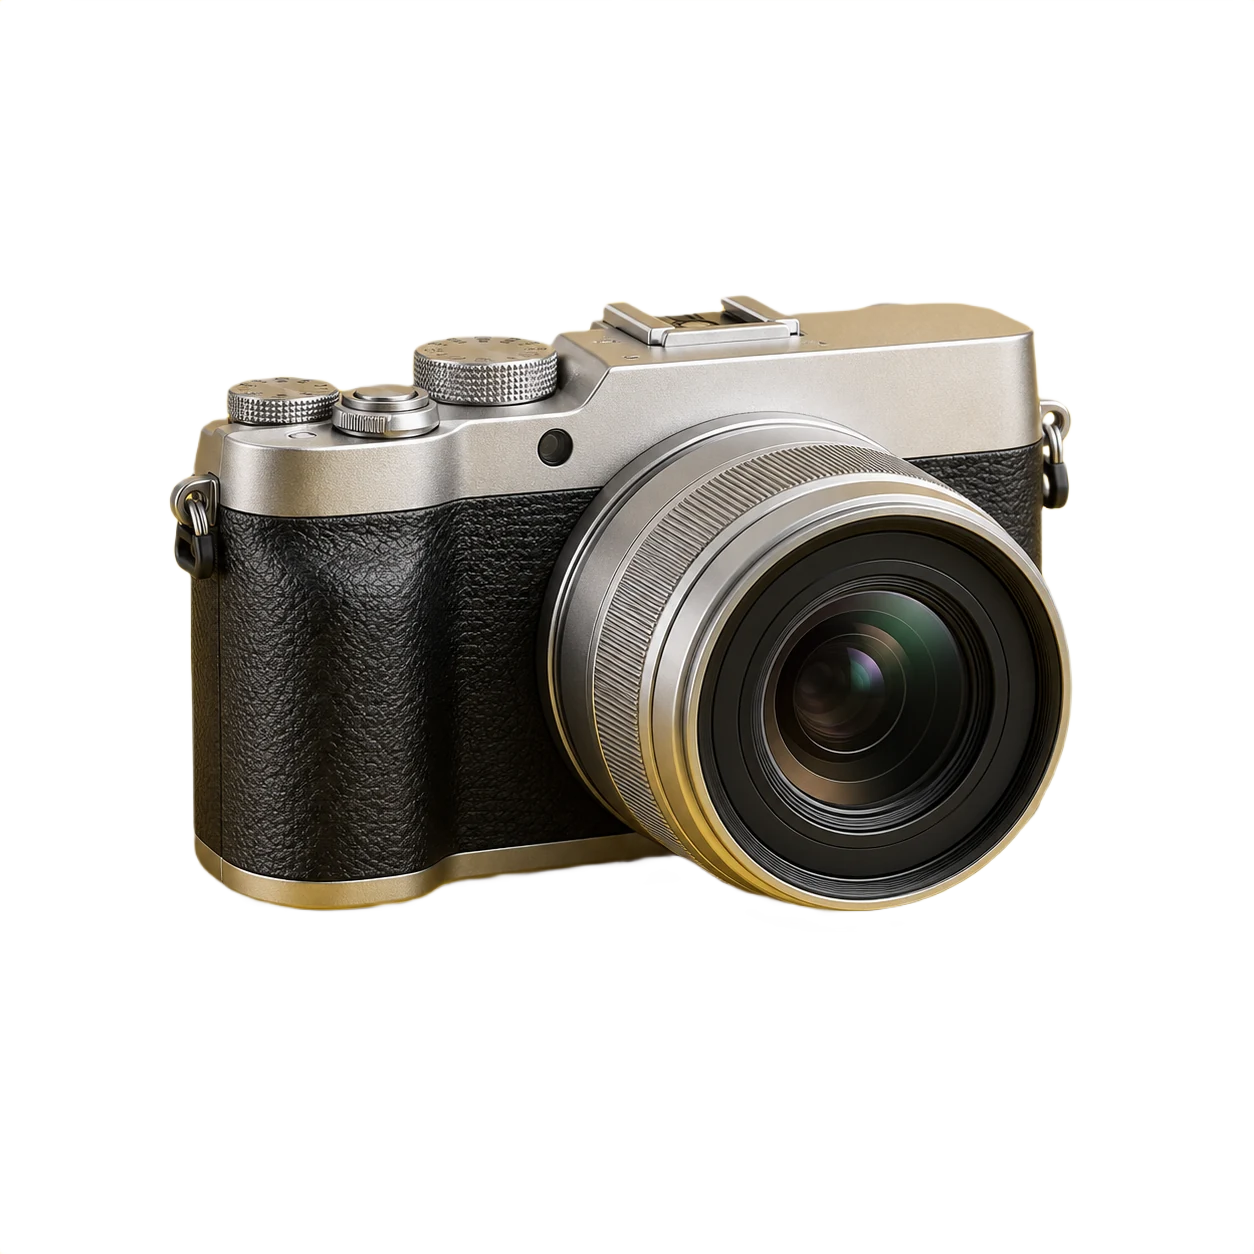
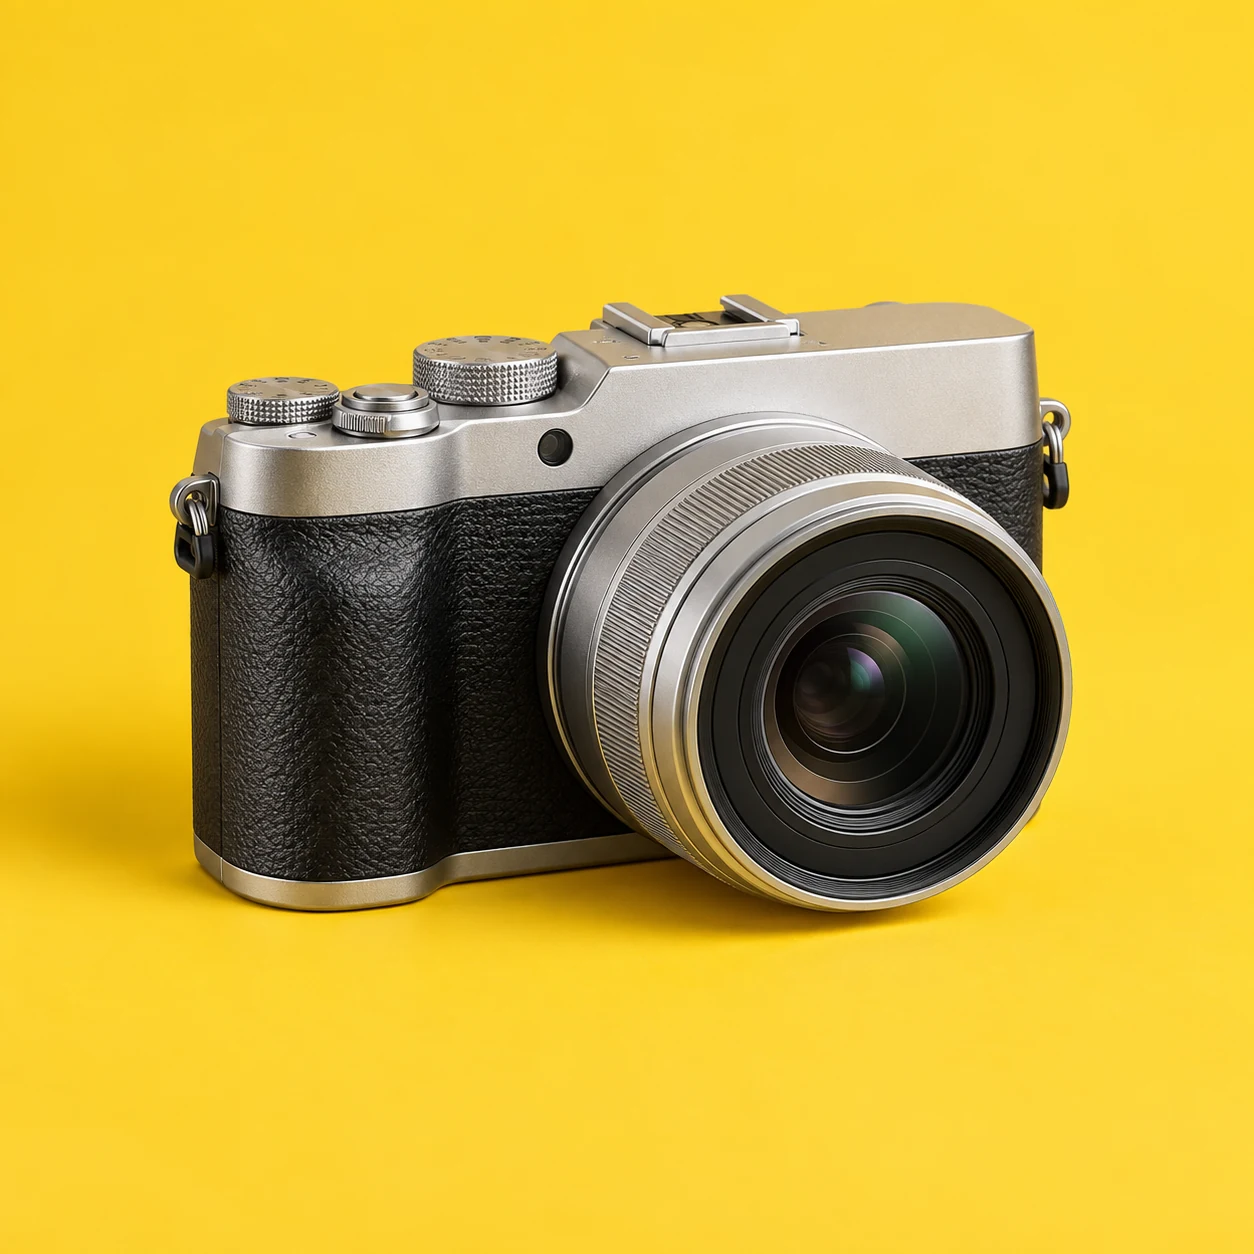 OriginalRemoved
 OriginalRemoved
 OriginalRemoved
AFTER BACKGROUND REMOVAL
Choose a solid colour for a product photo, add your own backdrop to a portrait, or keep a transparent PNG for another design.
Compare the result with the original before downloading. Hair, reflections, and objects that blend into the background may need a different source photo.
WAYS TO USE YOUR CUTOUT
Start with a clear photo. Choose a background that fits where you plan to use the result.
Try a white or neutral background for a consistent set of listing photos. Check the product edges and keep labels readable.
Use a simple colour for a profile or team photo. Compare hair and shoulders against both light and dark backgrounds.
Save a transparent cutout for presentations, invitations, and social graphics. Use JPG when your finished image has a background.
THE EDITING WORKFLOW
Choose a photo, inspect the cutout, set a background, and download.

Start with a clear photo

Background removed.
Subject stays.

Add any background
you like

Save PNG for transparency
or JPG for a finished photo
GOOD TO KNOW
File types, first-use loading, and exporting your result.
Upload your photo, let EraseBG remove the background, then choose a new look and download your image.
Keep a transparent background, choose a color, or add your own backdrop. Undo and redo your edits, then download your composition as PNG or JPG.
Choose Transparent and download as PNG to preserve transparency. JPG requires a solid background; white is used if you export a transparent canvas as JPG.
Your images are processed locally in this browser, not uploaded to a server. The first use downloads the background-removal model.
ONE EDITOR. DIFFERENT STARTING POINTS.
All these workflows use the same on-device background-removal engine. Pick a starting background, compare the cutout, and choose the export for your destination.
Keep a subject separate from its backdrop. Export PNG, then inspect its transparency before using it in another design.
Start the editor on white for a listing or catalogue. Check pale details, labels, and interior gaps.
Choose your own backdrop. Check the centre crop, lighting, and perspective before downloading.
Working with a brand asset? Read the limits of automated logo removal. For a product listing, follow the photo preparation guide.
BEFORE YOUR FIRST EDIT
Choose a sharp JPG, PNG, or WebP up to 10 MB and 40 million pixels. The first edit needs an internet connection to download the model. Your photo is processed on your device.
Hair, glass, fine lettering, and similar foreground and background colours can leave missing details or unwanted pixels. Compare your original before publishing. There is no manual mask brush in this editor.
Check a difficult resultKeep a transparent PNG for reuse in another design. Choose a colour or photo background for a finished composition. JPG fills a transparent canvas with white.
Check your file’s transparencyThe gallery contains prepared cutouts, and workflow compositions are illustrations. They show editing possibilities and areas to inspect; they are not benchmarks or guaranteed results from your upload.
Choose a practical guideDrag the two-line handle to compare your original and cutout.
Choose Background to try a colour or your own photo.
Download PNG for transparency or JPG for a finished image.
Help with a result