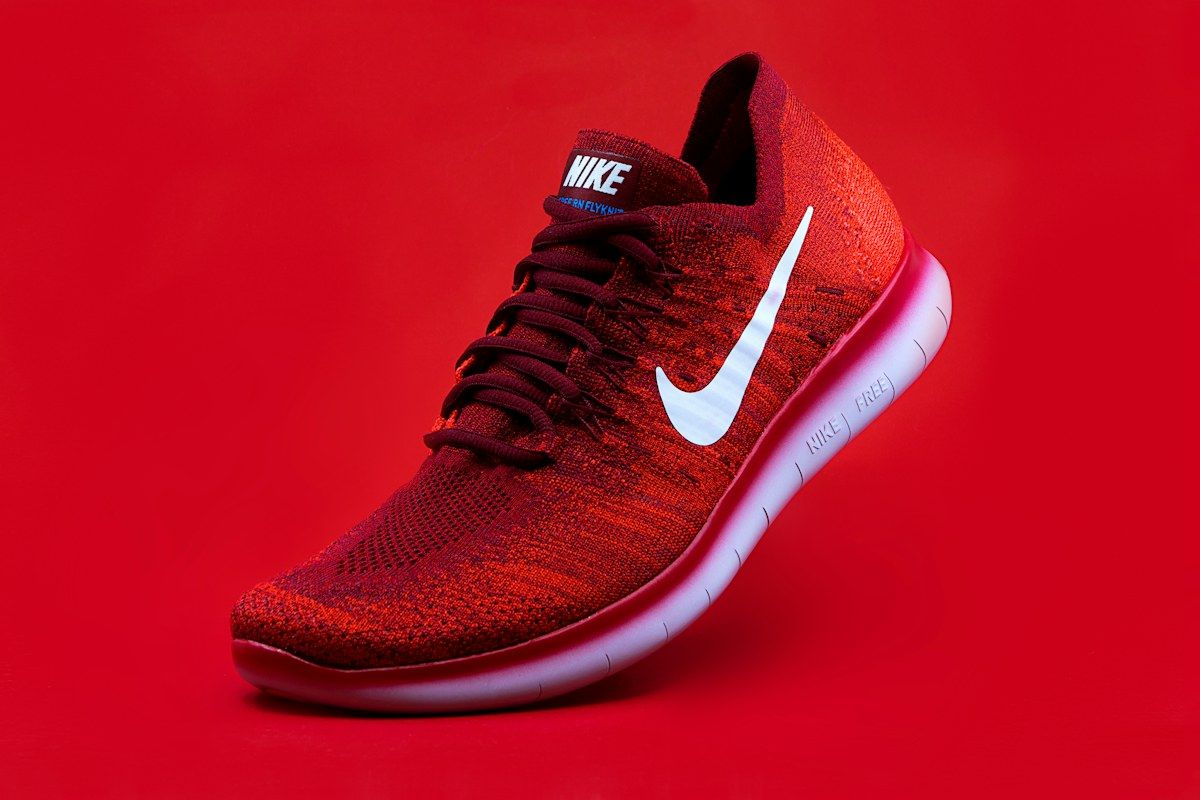
Make a JPG background transparent and save the result as PNG. Remove the background first, then choose a transparent finish in the editor before exporting.
BeforeAfter
‹ ›
Prepared example. Your photo is processed separately; results vary.
YOUR IMAGE STARTS HERE
Choose a photo.
Open it in the editor and make it yours.
or drag and drop it hereJPG, PNG or WebP · Up to 10 MB
Opening your image…
Background removal runs in your browser.
FROM SOURCE TO CUTOUT
A few details make all the difference.
01
Start with the right photo
JPG does not store transparency. Renaming a .jpg file to .png or converting the format alone will not remove its background. Start with the highest-quality original available; PNG export does not restore details already lost through JPEG compression.
02
Check the important details
Keep the transparent finish selected when exporting PNG. Test the downloaded file over a coloured background: the surrounding area should show through instead of appearing as a white rectangle.
03
Choose the final finish
Review your cutout in the editor. Choose transparent or a solid background, then export PNG or JPG for your next use.
BEFORE YOU BEGIN
Good to know.
Why does a converted PNG still have a white background?
PNG supports transparency, but can also contain an opaque white background. You need to remove the backdrop and export with a transparent finish. Choosing a solid white finish will produce a PNG with white pixels behind the subject.
What if an edge or detail is missing?
Compare with the original and try a sharper photo with more contrast around the subject. The tool cannot restore parts cropped out of the source image.
Can I use this on my phone?
Open the page in your browser and choose an image from your device. Processing time depends on the device and the first model download.