ERASEBG GUIDES
Prepare a product photo on white
A practical workflow for a clean backdrop and an honest product image.
Updated 1 October 2026 · EraseBG guides
Start with a photo that shows the product accurately
Choose a sharp source image with the full item visible. Make sure labels, fasteners, handles, and packaging are easy to see. Removing a cluttered room can improve a composition, but it cannot repair a blurred label or recover a cropped part. Keep the original so you can compare the export with what a customer will actually receive.
Remove the background, then inspect the small parts
Upload the photo through the product background tool. It opens the main editor. Wait for removal, then drag the comparison handle across the product. Inspect openings between parts, thin straps, and the contact area near the bottom. Transparent packaging and reflections may be mistaken for the surrounding scene.
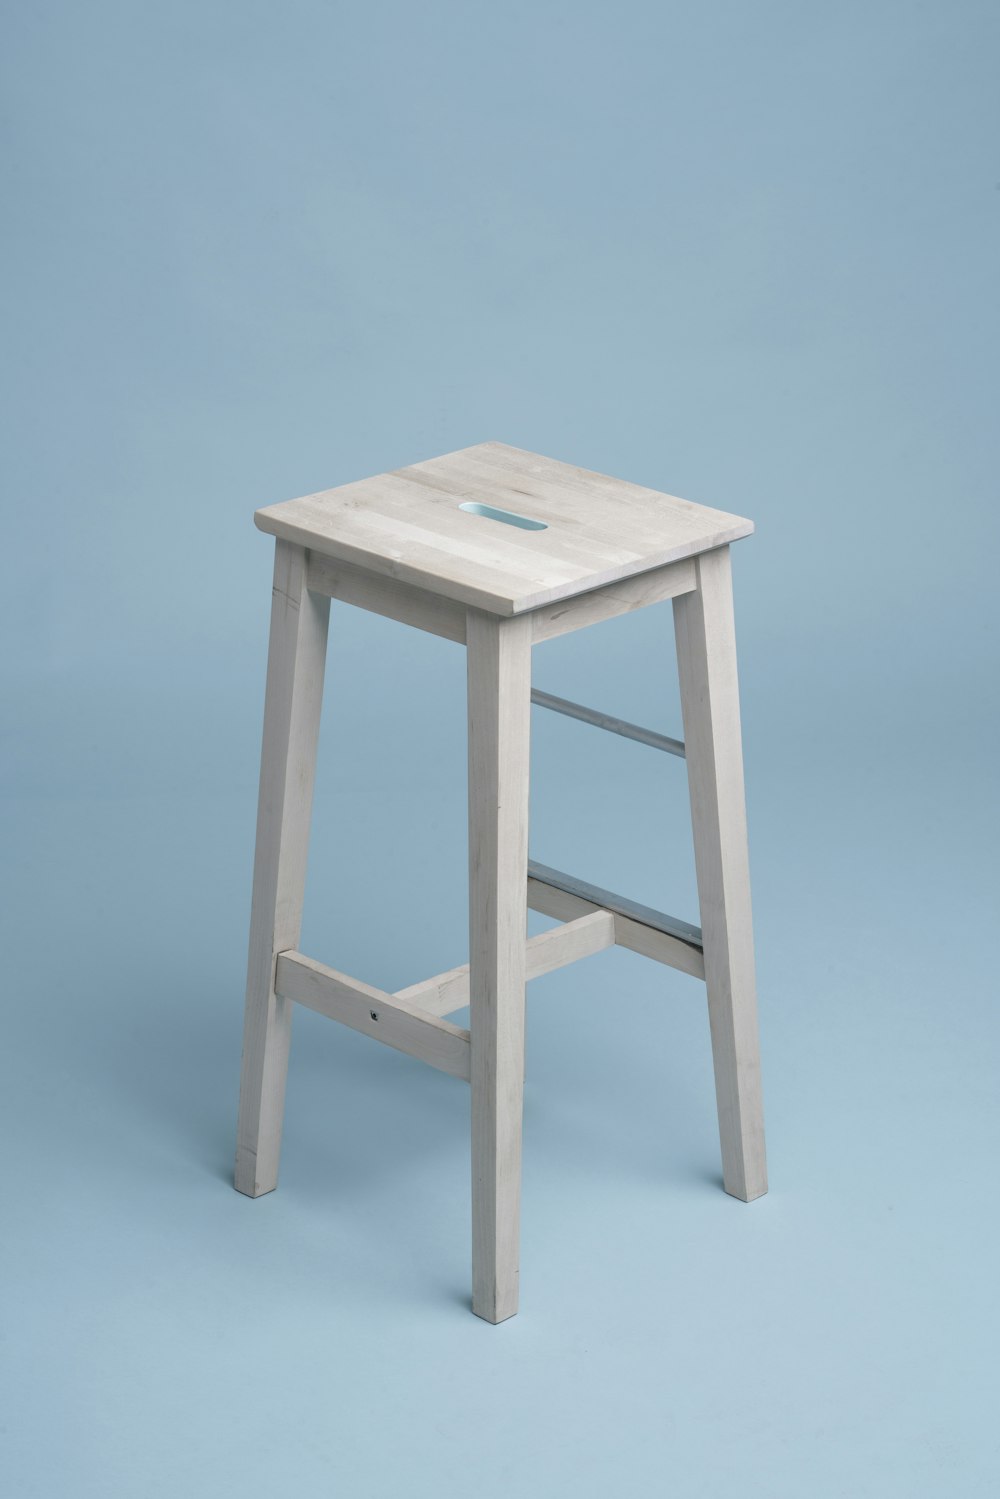
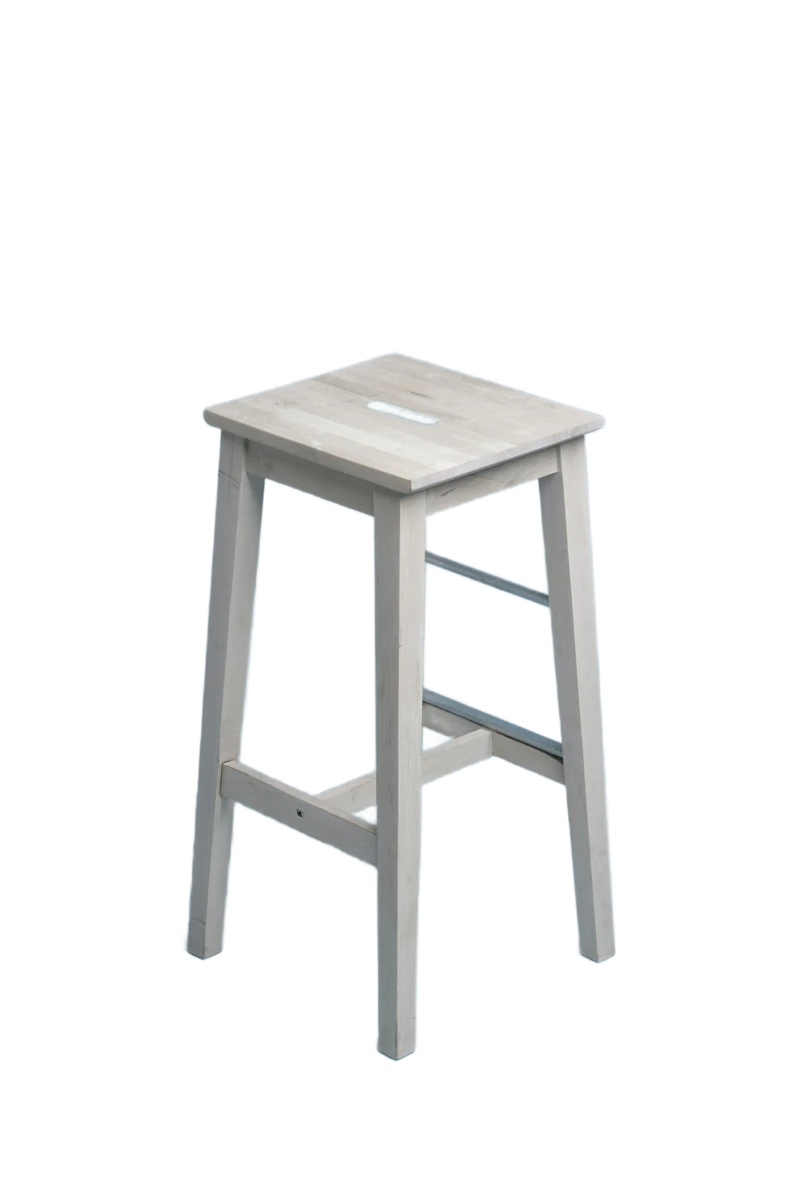
Choose a solid white background
In the editor, open Colour and select white or enter #ffffff in the colour picker. Compare the result with the original again. A white product can lose definition on a white background, especially where the source was overexposed. A transparent preview that appears white in an image viewer is not the same as explicitly adding white pixels behind the product.
Use undo to compare a different finish
Try a soft neutral colour if the product outline is difficult to see. Undo returns to the previous background choice; Redo restores it. Background changes preserve the cutout, so you can compare alternative finishes without repeating removal. Choose the version that shows the product clearly and fits the destination’s rules.
Export and check the file
Open Download and choose PNG or JPG for a finished white-background composition. PNG is useful when you also want a separate transparent version. JPG is suitable for an opaque photo, but it cannot preserve transparency. Check the dimensions in the export dialog and inspect the downloaded image before publishing it.
A clean backdrop does not certify a marketplace listing
Store and marketplace requirements can differ for dimensions, framing, props, text, shadows, and the main image. Check the current rules of your destination directly. EraseBG does not certify compliance, automatically centre a product to a marketplace specification, or guarantee that a cutout is accurate enough to publish.
Know when to take another photo
If removal changes the product’s shape or removes a meaningful detail, retake the source with a quieter background and more even lighting. Do not use a backdrop to hide a misleading result. For glass, jewellery, and reflective items, a careful original photo may be more useful than an automated cutout. The transparent PNG guide explains how to keep a reusable export.